Work with trays
When using more than one tray, you can make use of the tray features provided and change the
settings to achieve a better experience.
By default, the printer draws paper from Tray 1. If Tray 1 is empty and Tray 2 is installed and contains
paper, the printer will draw paper from Tray 2.
You can change the behaviors using the following features:
●
Default Tray: Set the default tray from which the printer draws paper first.
●
Tray Lock: Lock a tray to prevent it from accidental use; for example, when you have loaded
special paper (such as letterhead or preprinted paper).
The printer will not use a locked tray even when the other tray is empty.
ENWW
Set up and use accessories 31

NOTE: For better experience, load only one type of paper in a tray.
NOTE: Tray 2 supports only plain paper.
To achieve this
Follow these steps
Have paper loaded in both trays and use paper from one tray
if the other tray is empty.
●
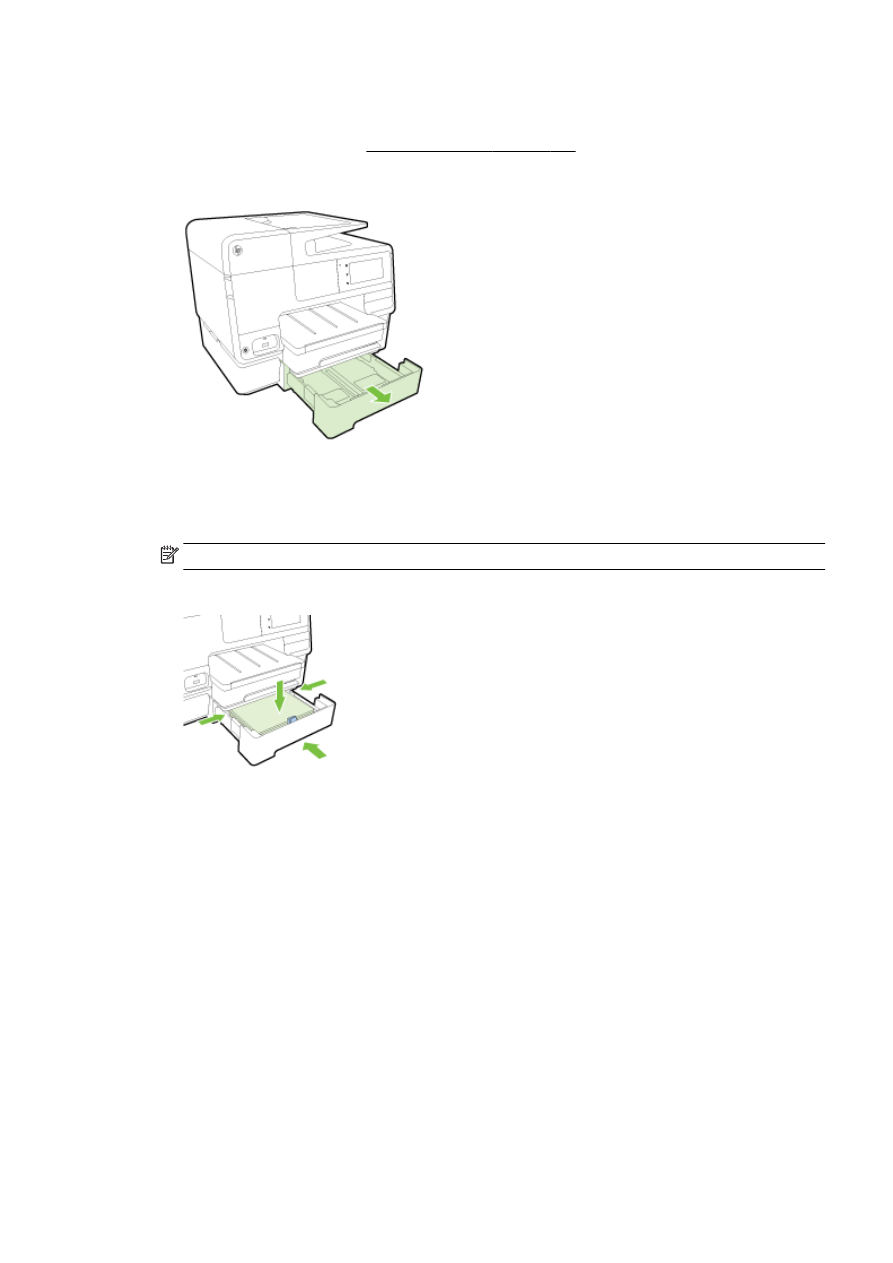
Load paper in both trays. For more information, see
Load paper on page 23.
●
Turn off tray lock.
Have paper loaded in both trays and use paper from one of
the trays first.
●
Load paper in both trays.
●
Set the desired tray as the default tray.
Be able to choose from plain paper and another paper type
that you use occasionally.
NOTE: For better experience, load only one type of paper
in a tray.
●
Load special paper in main input tray and plain paper in
Tray 2.
●
Lock the main input tray and set Tray 2 as the default
tray.
To change tray settings
NOTE: You can also change the tray settings from the printer software or EWS.
To access EWS and the printer software, see Embedded web server on page 118 and Open the HP
printer software (Windows) on page 37.
1.
Make sure the printer is turned on.
2.
Make sure you have turned on automatic selection of paper source.
3.
From the printer control panel display, touch and slide your finger across the screen and touch
Setup.
4.
Touch Tray Setup, touch Default Tray or Tray Lock, and then select the appropriate option.
To turn on automatic selection of tray or paper source (Windows)
1.
Depending on your operating system, do one of the following:
●
Windows 8: On the Start screen, click Control Panel, click View devices and printers; right-
click the printer icon, and then click Printing preferences.
●
Windows 7: Click Start, click Devices and Printers; right-click the printer icon, click Printing
preferences, and then select your printer name.
●
Windows Vista and Windows XP: Click Start, click Printers or Printers and Faxes; right-click
the printer icon, click Printing preferences.
2.
On the Printing preferences tab, click the Paper/Quality tab.
3.
Select Printer Auto Select from the Paper Source drop-down list in the Tray Selection area.
4.
Click OK twice to close the pages and accept changes.
32 Chapter 2 Get started
ENWW

To turn on automatic selection of tray or paper source (OS X)
1.
From the File menu in your software, choose Print.
2.
Make sure your printer is selected.
3.
Select Automatically Select from the Source drop-down list.
Do the following if you do not see options on the Print dialog.
●
OS X v10.6: Click the blue disclosure triangle next to the Printer selection to access the
print options.
●
OS X Lion and Mountain Lion: Click Show Details to access the print options.
ENWW
Set up and use accessories 33