To install Tray 2, see Install and use second tray (Tray 2) on page 30.
●
To understand about using tray features, see Work with trays on page 31.
Install the automatic two-sided printing accessory (duplexer)
For information on duplexing, see Print on both sides (duplexing) on page 48.
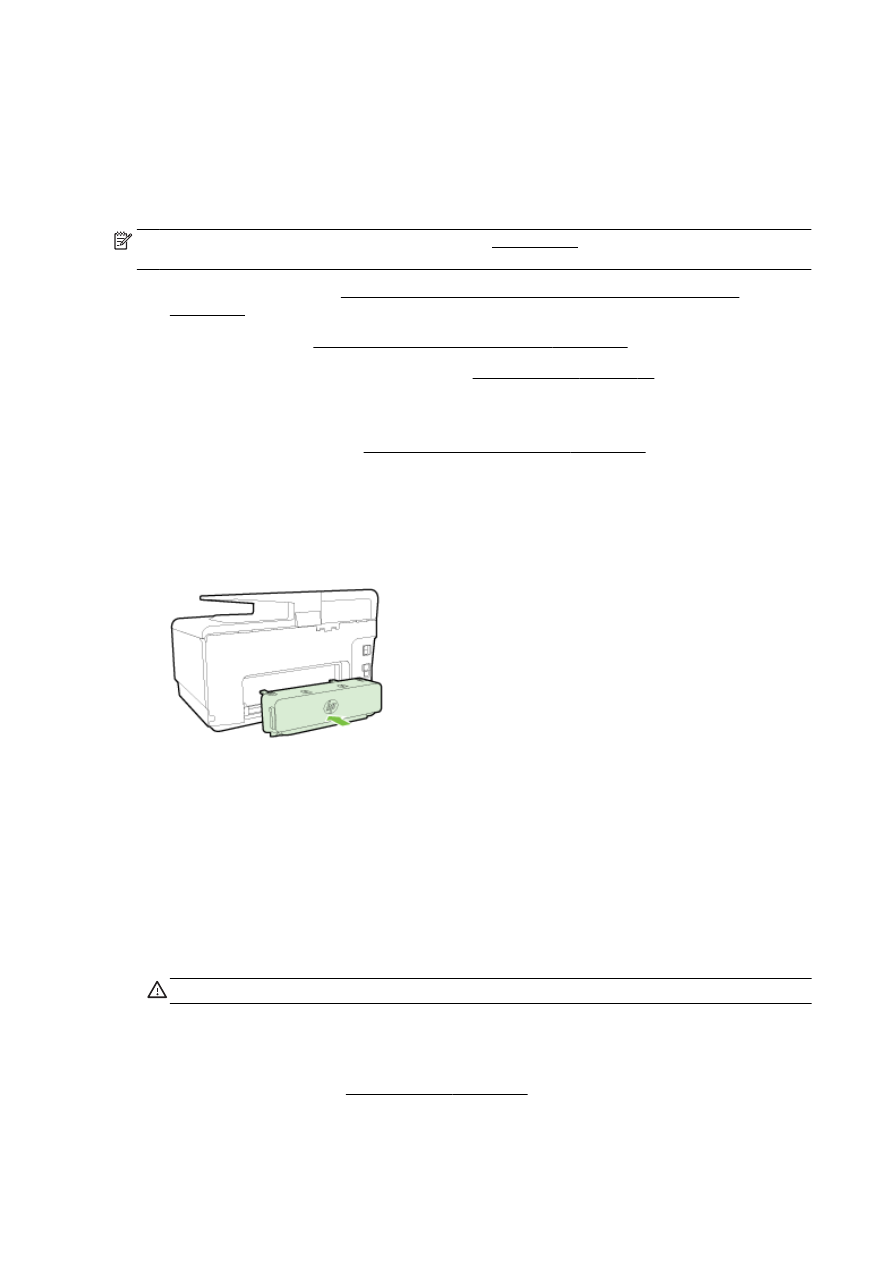
To install a duplexer
▲
Slide the duplexer into the back of the printer until the unit locks into place.
Do not press the buttons on either side of the duplexer when installing the unit; use them only for
removing the unit from the printer.
Install and use second tray (Tray 2)
To install Tray 2
1.
Unpack the tray, remove the packing tapes and materials, and move the tray to the prepared
location.
The surface must be sturdy and level.
2.
Turn off the printer, and unplug the power cord from the electrical socket.
3.
Set the printer on top of the tray.
CAUTION: Be careful to keep your fingers and hands clear of the bottom of the printer.
4.
Connect the power cord and turn on the printer.
5.
Enable Tray 2 in the printer driver.
For more information, see Work with trays on page 31.
30 Chapter 2 Get started
ENWW
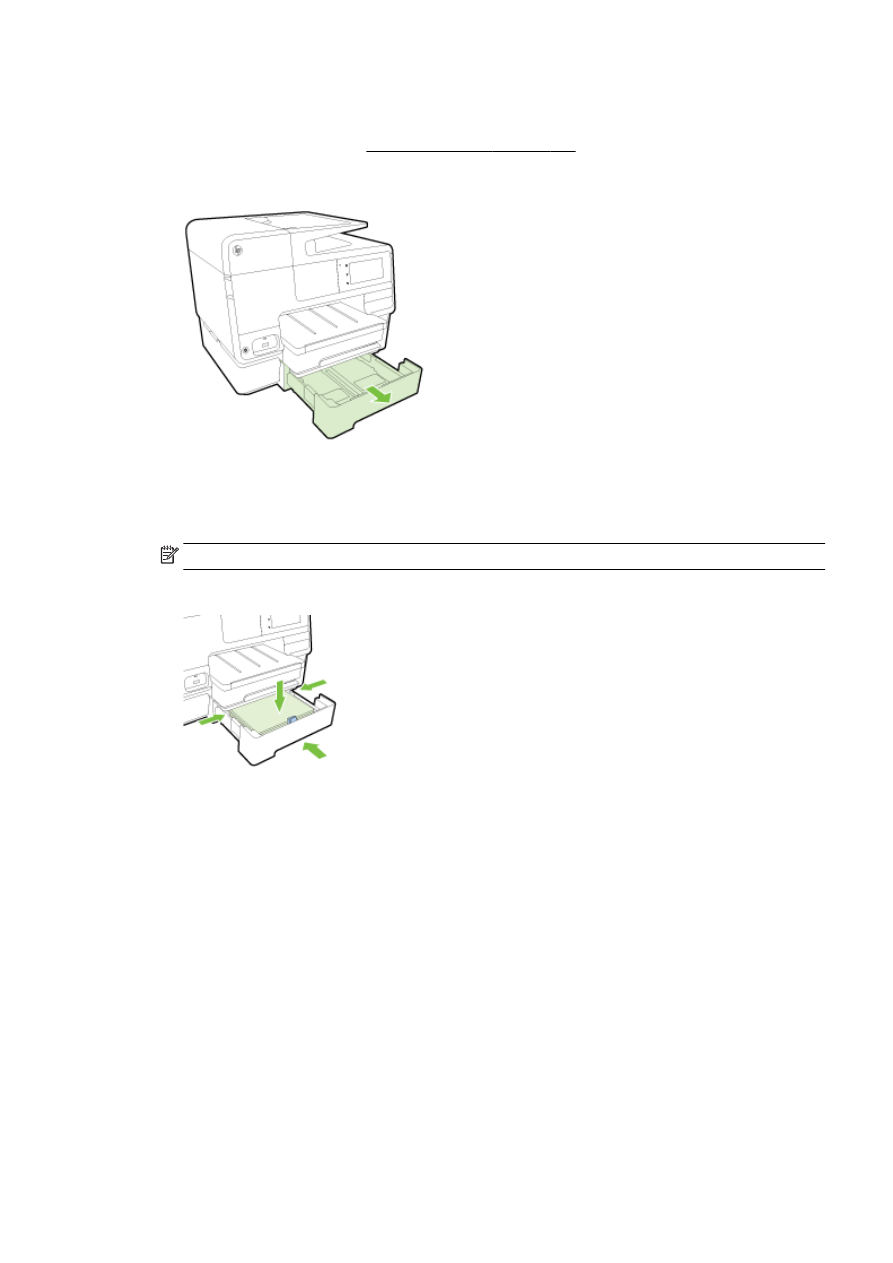
To load paper in Tray 2
Tray 2 supports only plain paper that are not smaller than A4 or Letter . For more information about
the capcity of the input tray, see Input tray capacity on page 165.
1.
Pull the tray out of the printer by grasping under the front of the tray.
2.
Insert the paper print-side down in the center of the tray.
Make sure the stack of paper aligns with the line on the paper-width guide, and does not exceed
the higher line marking in the tray.
NOTE: Tray 2 can be loaded only with plain paper.
3.
Slide the paper-width guides in the tray to adjust them for the size that you have loaded.
4.
Gently reinsert the tray.
5.
Pull out the output tray extender.